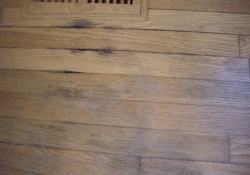
Water Damage to Your Hardwood Floor
One of the most frequent problems we’re called in to address is water damage to hardwood floors. By the time a Chicagoland homeowner calls us for help, the problem will almost always require refinishing and often the replacement of some or all of the damaged wood. Here are some tips and observations on how to spot, prevent and minimize the damage that water can cause to your hardwood floors.
An Ounce of Prevention is Cheaper Than the Cost of Repairing Your Wood Floor
The first thing to mention is that your wood floor’s polyurethane coating is specifically intended to keep water and dirt from ever touching the wood. Although even the most durable polyurethane coatings are not fully water proof, keeping the protective layer in good shape is the best defense against water damaging your wood floor. As we explain in this wood floor care blog post, regular cleaning with a proper wood floor cleaner and a microfiber mop will help the polyurethane finish last longer and protect the floor against water.
That being said, water is an insidious foe of wood flooring and even if the polyurethane is in good shape, a continuous drip of water from an unknown source will find a way into the wood.
How Can I Tell if I Have Water Damage on My Wood Floors?
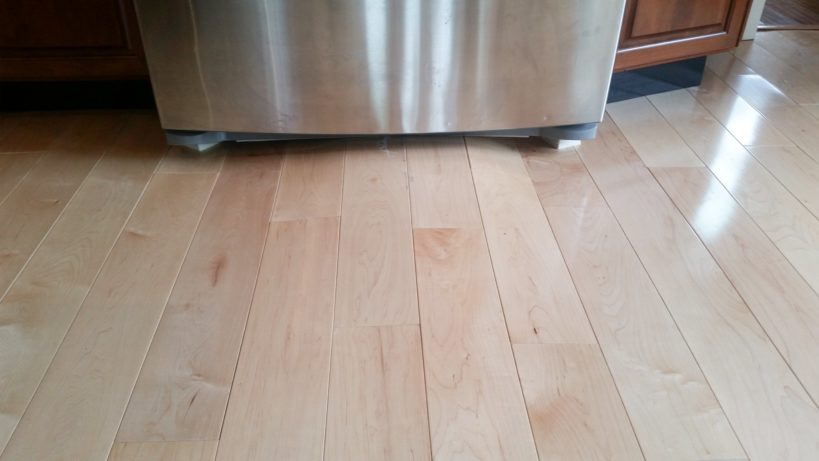
The damaging effect of water on wood builds over time. By the time you notice a change in your wood floor, the water has already hurt the floor. One of the first signs that water has damaged your floor is cupping of individual planks, or crowning of several planks, creating a hump in the floor. As the photos below suggest, once the wood absorbs water, it expands and this expansion reveals itself in the edges of the board turning up, or whole planks buckling.
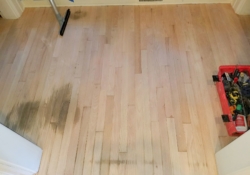
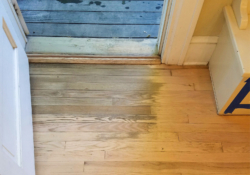
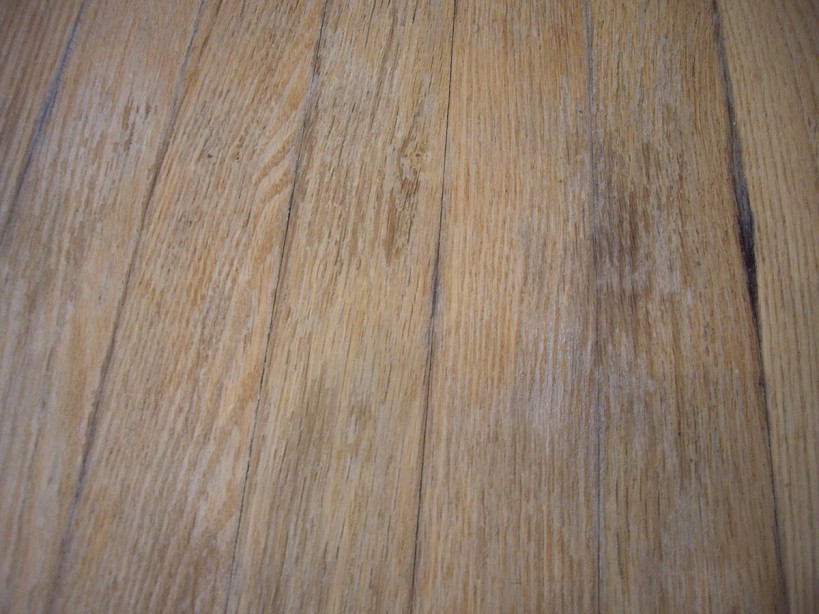
Another sign that water has damaged your floor is black or dark staining along the edges of a plank or broader stains across several planks. This staining is most often caused by a combination of mold growing, the tannins in the wood turning color as they react to prolonged contact with minerals in the water, and occasionally rust appearing along the edges of the board where nails exist. In each of these instances, a consistent source of water is required to cause the damage.
Where Did the Water Come From?
Before you try to repair the damage, the first question to ask is “where did the water come from?” An occasional spill won’t cause mold to form or the tannins in the wood to turn color or even create a cupped appearance. Persistent moisture over time is required for these problems to manifest themselves.
External sources of water are often the first place homeowners look. If you’re noticing staining by windows or doors there it’s likely that water is seeping underneath the door sill or down the framing on a poorly installed or older window. Often, especially around windows, you’ll notice signs of water on the drywall in the form of peeling paint or staining.
More commonly we’ll find water damage on wood flooring that was caused by internal sources of water.
If you’ve got hot water heat in your home with radiators installed in each room, you should investigate whether one of the connections to the radiator is leaking. Because the connectors and valves are above the floor, you’ll be able to do a visual inspection to identify leaks.
More difficult to identify are internal sources of water that are hidden behind walls, cabinets or underneath appliances.
Recently, we’re seeing more and more water damage from refrigerators and dishwashers. A number of refrigerators have water filters located beneath or behind the fridge. Occasionally these filters will clog, or the filter housings/lines crack creating a small, persistent drip of water. These drips, over time, work their way down between the boards and behind the appliance, spoiling the floor and causing damaged planks in front of the appliance.
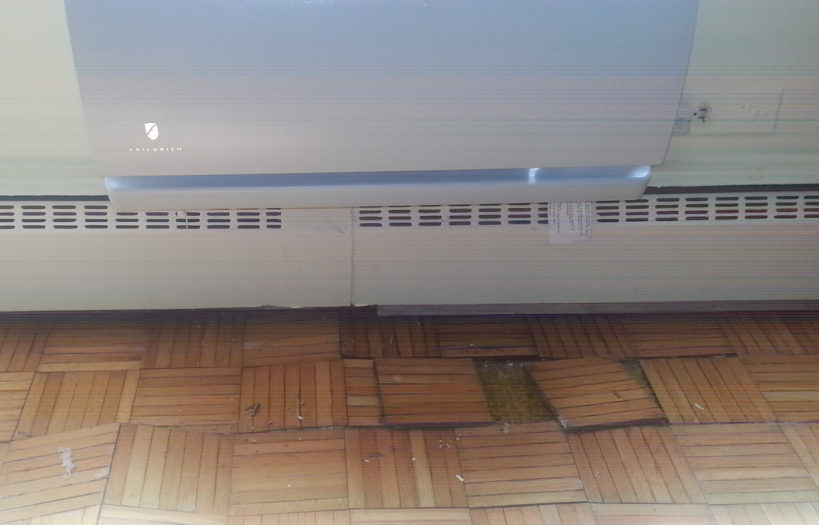
Another increasingly common source of leaks in the kitchen are from the drain hoses of dishwashers. For some reason, the plastic, flexible drain hoses are so cheaply made that within a few years, cracks can form that drip water down to the floor. Center islands, where the subfloor is often exposed to provide access for plumbing and electricity, are especially vulnerable to this problem. Water that drips from the dishwasher hits the subfloor and can travel for several feet. If there’s enough water, it can be absorbed by the hardwood flooring above, causing staining, cupping, or crowning.
Another common problem with dishwasher drain hoses is that they are not supported properly. Because the plastic hoses must make a bend or two, and are often longer than required, tight bends will crack over time, creating a hidden leak that can ruin your wood floor.
No matter what the source of the water, the leak must be found and fixed before repairs to the flooring can be made.
The Type of Wood Flooring You Have Affects the Repair Options Available
As suggested in the Wood Flooring 101 section of our website, the type of wood flooring you have limits the range of possible repairs for your wood floor. Solid, hardwood flooring offers the broadest range of options as you can sand and scrape away up to 1/4 of an inch of the wood to remove cupping or surface mold and staining once the planks are dry. Solid flooring can also be replaced and new planks more easily retrofitted into the existing flooring. With an engineered wood flooring, there’s less material with which to work and make repairs, this format is also very limiting in available repair options.
If you’re just sanding down a hardwood floor to repair water damage, prefinished flooring is more difficult to work with than unfinished flooring. Because the “pre-finished” protective coating is applied at the factory, matching that finish in the field can be challenging. However, if you’re replacing the damaged boards, using pre-finished flooring can make the task easier as the stain and protective coating, applied at the factory, improve both quality and consistency. It is important to note that replacing damaged planks with native materials is the surest way to guarantee a match. You should always keep some attic stock from any wood floors that you have installed.
Sanding and Refinishing Water Damaged Flooring
Water-damaged boards that suffer from mild cupping or simple surface staining can be sanded down in the field, re-stained and re-coated. While this may sound like a fairly simple task, it really isn’t for a couple of reasons. First, wood flooring changes color over time as sunlight darkens or lightens the wood, depending on the species. When you sand a floor, the original color of the wood is often revealed and even when the exact same stain is applied, can appear a slightly different color.
It’s also difficult to completely hide the lap and cut lines made when new finish is applied over a repaired area. While most polyurethane coatings are self-leveling when applied, it’s inevitable that where the original and repaired flooring meet, there will be small but noticeable differences in the “strokes” used to apply the coating. This is why in many cases even a small area of repair and sanding requires that the floors in the entire room are refinished to blend in the colors.
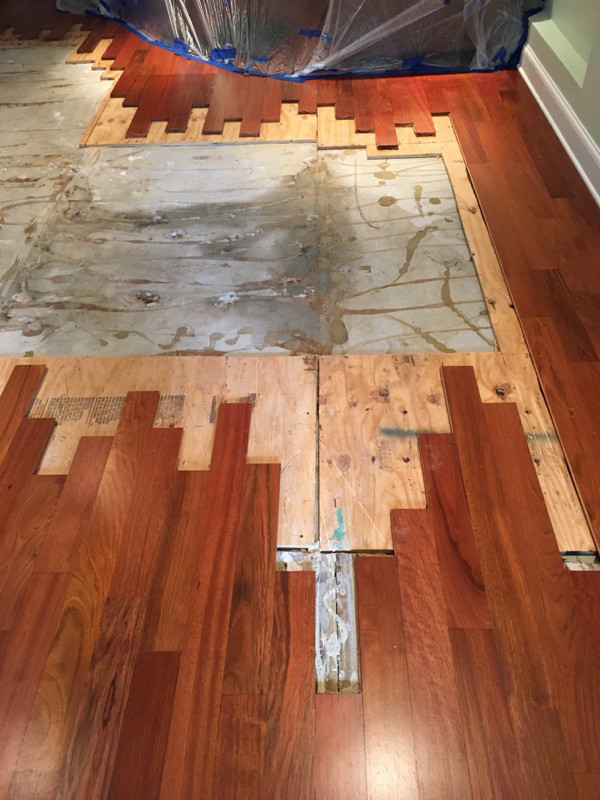
Replacing Damaged Flooring by Weaving in New Planks
For many water-damaged wood floors, the best way to repair the damage is to eliminate and replace the affected boards and then to refinish the entire floor. The proper way to replace planks in a wood floor takes time and the expertise of a craftsman.
First, the flooring company must find replacement planks that not only match the species of the existing wood, but also the grain and texture of the current flooring. Second, as with sanding and refinishing, the new wood will often have a different hue when viewed next to the existing, sun-soaked wood. If you’re doing a spot repair, this requires careful matching of the stain. Finally, weaving in new planks into the existing floor means that each board must be the proper size to create a seamless repair.
If achieving a seamless, “like new” floor is your goal, here is the Mr. Floor five step process to repairing water damage to a hardwood floor.
Step 1: Identify and resolve the source of the water
As previously suggested, we don’t begin repairs to any floor without first positively identifying and resolving the source of the water that’s impacting the wood floor. Failure to do this will result in a repeat of the problems weeks or months down the road.
Step 2: Select the planks to be replaced
Of course you’ll always replace the planks that show the visual effect of the water damage, but it’s important to take additional planks surrounding the visually affected area to create a buffer that insures hidden damage won’t rise to the surface in the future. For example, while there might not be visible mold or mildew on a plank next to the affected area, future water spills may reactivate the mold growing on the bottom of the plank or hidden by the subfloor.
Just as important, because new wood will be weaved or laced into the existing flooring, rather than simply cutting in a rectangular patch from the affected area, the flooring contractor must remove planks selectively in a natural looking pattern to provide the most seamless repair possible.
Step 3: Remove the water-damaged subfloor and insure the concrete floor, if one exists, is dry
Removing the affected hardwood planks is just the first step in mapping out the flooring to be repaired. As the top layer of wood is removed, the plywood subfloor must also be inspected to insure its integrity. If the subfloor is moldy or substantially weakened by the water, then the hardwood top layer must be pulled off, even if it appears unaffected by the water.
If there is concrete underneath the plywood subfloor, the concrete must be allowed to expel any moisture that may have been trapped by the subfloor. If new plywood is patched into the existing subfloor before the concrete is dry, that moisture will travel up through the subfloor to the hardwood planks, potentially causing problems.
Knowing how to properly use a Moisture Meter and a Thermo-hygrometer is key to successfully identifying a dry substrate.
Step 4: Replace the subfloor and lace in new hardwood planks
Once the foundation upon which the subfloor will be installed is determined to be dry, the plywood subfloor previously removed can be replaced. It’s important that during this step the flooring expert installs a moisture barrier, if required, and the appropriate sound absorbing material, such as cork, if you live in high-rise building. Leaving this step out can open the door to future problems or result in a floor that doesn’t look or feel the way the original floor does.
When the plywood subfloor repair is complete, the wood flooring craftsman can go about the process of selecting, sizing, cutting and installing new wood planks to replace the ones that were removed. It’s at this stage where the experience and talent of the flooring company reveals itself. Weaving new planks into an existing floor is an exacting task that requires patience and the highest attention to detail. If care is not taken, gaps between the new and old wood will seem like canyons creating an outline of the repair that’s unsightly not to mention the potential for major structural problems if the new planks are not stitched in correctly.
Step 5: Sanding and Refinishing the entire floor
Once the physical repair is made to the floor, the most uniform results are obtained by sanding and refinishing the entire room where the water damage occurred. As previously suggested, the natural color of wood changes with age, sunlight and sourcing. Sanding staining and refinishing the entire floor minimizes these variables.
If cost limits your ability to refinish the entire floor of a room, then a “spot” refinish is possible but it will come with compromises. First, it will be more difficult to match or hide differences in color because you will need to match the impact of the sun and age with the replacement planks. Tweaking the color of the stain used on the wood can help, but it’s a challenge. Second, you may see lap lines which are the “brush strokes” that occur when polyurethane is applied to a floor. Because each coat of polyurethane is relatively thick, matching the levels of the repair and existing floors is a challenge. Third, without the ability to machine the new and existing planks together the new planks will sit at a slightly higher level than the existing floors and be very noticeable when you run your hand across the surface.
If you engage an experienced, highly-skilled contractor who follows Mr. Floor’s five step process, the water damage to your hardwood flooring should become a thing of the past.
Igor Murokh
Igor is a graduate of the University of Illinois and holds a B.A. in Economics. He has worked in the flooring industry for over 30 years and is the VP and Sales Manager of Mr. Floor Companies in Skokie, IL. Igor is a certified wood flooring inspector (CWFI) and routinely helps clients assess flooring issues.

